- Store all of your identification events in your database indefinitely. Fingerprint stores your events only for a limited time.
- Get Fingerprint results to your server securely and incorporate them into your fraud prevention logic or trigger other workflows for every identification event.
Implementing a webhook handler
When you call the JavaScript agent get() method (or the mobile SDK equivalent), the identification request is processed by Fingerprint, and the device intelligence results are sent to your server endpoint. To receive webhooks, you need to create an API endpoint in your server application that can receive POST HTTP requests from Fingerprint and return a successful response. For example:If you are using Node SDK v7.0 or later, see the Server API v4 webhooks example.
Note: Our Server SDKs can provide you with type information about the webhook format.Once you add the webhook to your system, you can test it using
cURL:
Timeout and errors
- Fingerprint expects your server endpoint to respond with a
2xxstatus code within 3 seconds of receiving the webhook payload. - Otherwise, the webhook will be shown as Failed on the Webhook events page in the Dashboard.
- Headers and the response should be smaller than
4KB, otherwise, they will be truncated.
Retries
- Every request is retried once if it times out or returns a non-
2xxresponse. - The retry happens 5 minutes after the first unsuccessful request.
- The retry request will have the same request ID as the first request, so it’s possible to use it as an idempotency key.
Registering your webhook URL
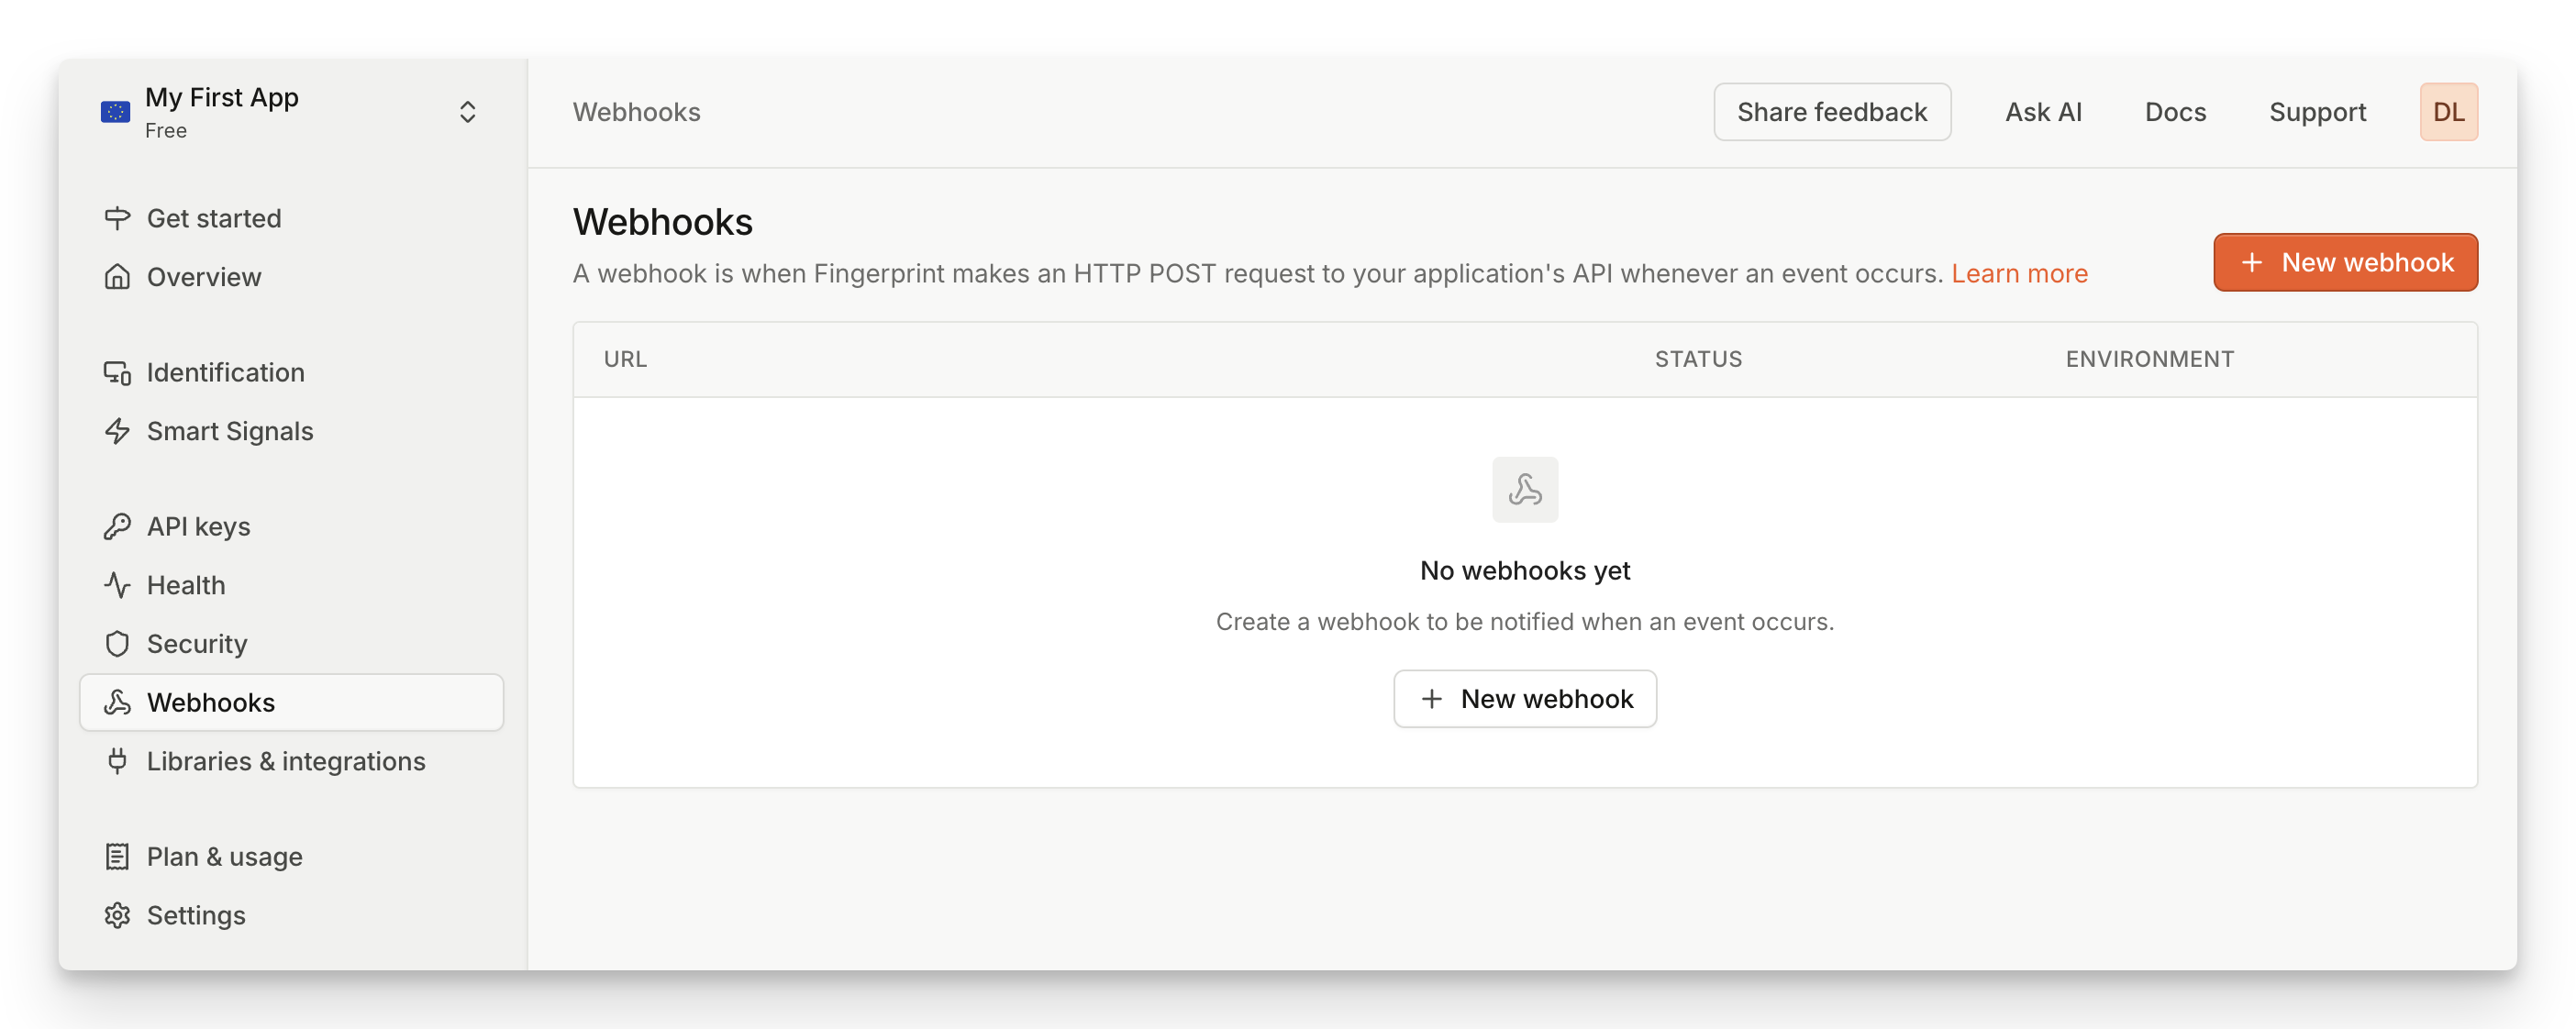
- Navigate to Dashboard > Webhooks.
- Click Add webhook.
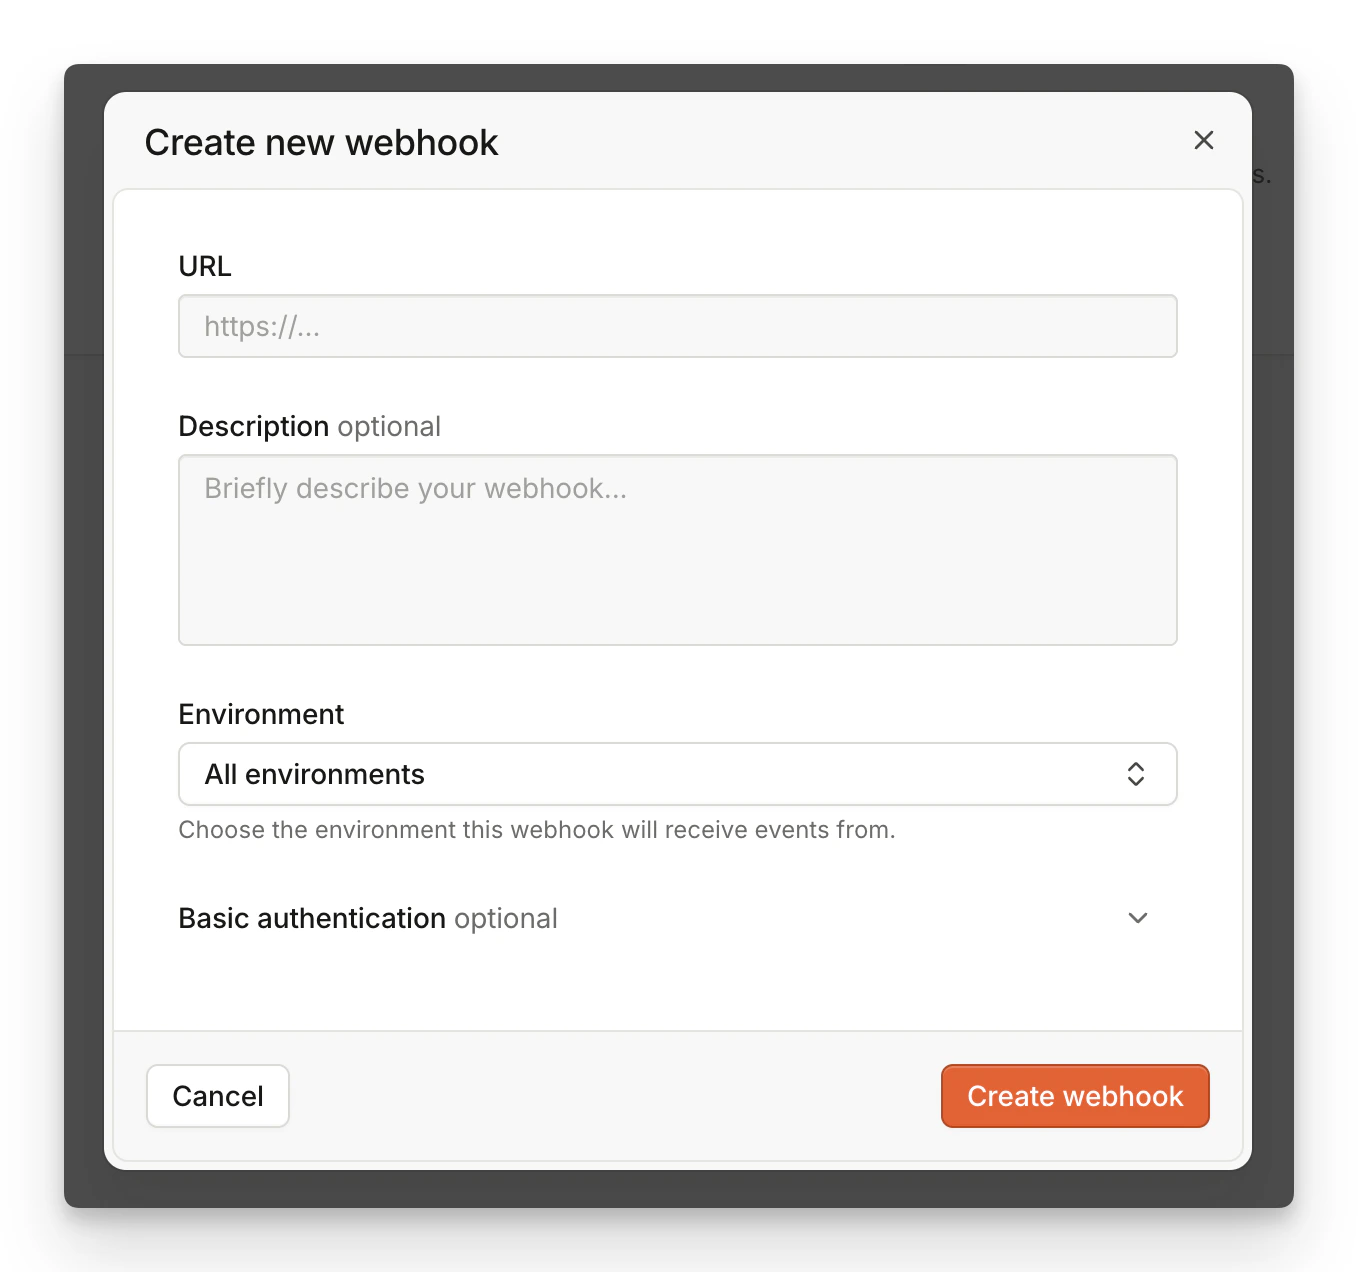
- Set URL to the HTTPS URL of your webhook endpoint. IP addresses or HTTP domains are not allowed.
- If you select an environment, your webhook will be only report on events from a matching environment.
- If you use Basic authentication to protect your webhook, fill in User and Password.
- Click Create Webhook.
- You will see a success modal that says Webhooks created.
- If you use Webhook signatures to verify the incoming webhooks (recommended), make sure to download or copy the encryption key shown on the success modal. The key is only shown once.
- Assuming your webhook handler is implemented and deployed, you can click Send test event to verify everything works as expected.
Webhook payload format
The webhook format is shared between all activated products. Fields can be specified as:- optional (can be absent)
- nullable (can be null)
- empty (can be empty:
""or{})
requestId is not optional, it can’t be null, it can’t be empty.
Smart Signals FieldsThe set of features exposed in the root object is determined by the pricing tier of your workspace.
suspectScore, rootApps, tampering, proxy, vpn, tor, ipBlocklist, bot, ipInfo, emulator, clonedApp, factoryReset, jailbroken, frida, privacySettings, virtualMachine, remoteTools, velocity, developerTools and rawDeviceAttributes fields are unavailable on the basic Pro tier.The webhook format exposes the same Smart Signals information as the Server API /events endpoint, even though the format is not exactly the same. The response payload is based on the originating platform (browser, iOS SDK, Android SDK) and feature availability. See our Smart Signals cheat sheet for a complete overview.JSON example
Protecting your webhooks
There are three possible approaches to webhook security: Secret URLs, Basic Authentication, and Webhook signatures.Secret URL
You can make your Webhook URL impossible to guess and keep it secret. This is the most basic form of protection. It doesn’t secure the URL itself, but as long as the URL does not leak, no one can send fake identification events to it. To ensure your data is encrypted, we require using HTTPS for all webhook communication.Basic HTTP Authentication
An easy way to protect your API is through Basic HTTP Authentication. You can configure your web server to require a username and password to access a URL. To enable Basic authentication for your webhook:- Navigate to Webhooks.
- Find your webhook in the table and click the Edit icon.
- Expand Basic authentication.
- Fill in User and Password.
- Click Edit webhook.
Webhook signatures
Enterprise onlyWebhook header signatures are available only on the Enterprise plan.
FPJS-Event-Signature HTTP header that is available as an additional validation measure. We strongly suggest adopting this method instead of Basic HTTP Authentication as it doesn’t require sharing any kind of sensitive data (username/password).
- The header signature is computed from the HTTP body of the webhook along with a symmetric key — a secret generated during the webhook creation.
- The signature method used is HMAC with SHA-256 hash function.
FPJS-Event-Signature Header Structure
The value of the FPJS-Event-Signature header is a comma-separated list of <signatureversion>=<hash> where the signatureversion is the version of the signature and hash is the computed signature hash.
Currently, the only supported version is v1 and the algorithm for v1 is a HMAC SHA-256 of the HTTP raw payload, using the webhook’s secret. The secret is generated for each webhook during its creation.
1. Get the Key from the Dashboard
When you add a webhook, we assign a unique symmetric key to it and display it once. Save this secret for subsequent usage on your backend so that you can compute your HMAC and validate the webhook from the signature.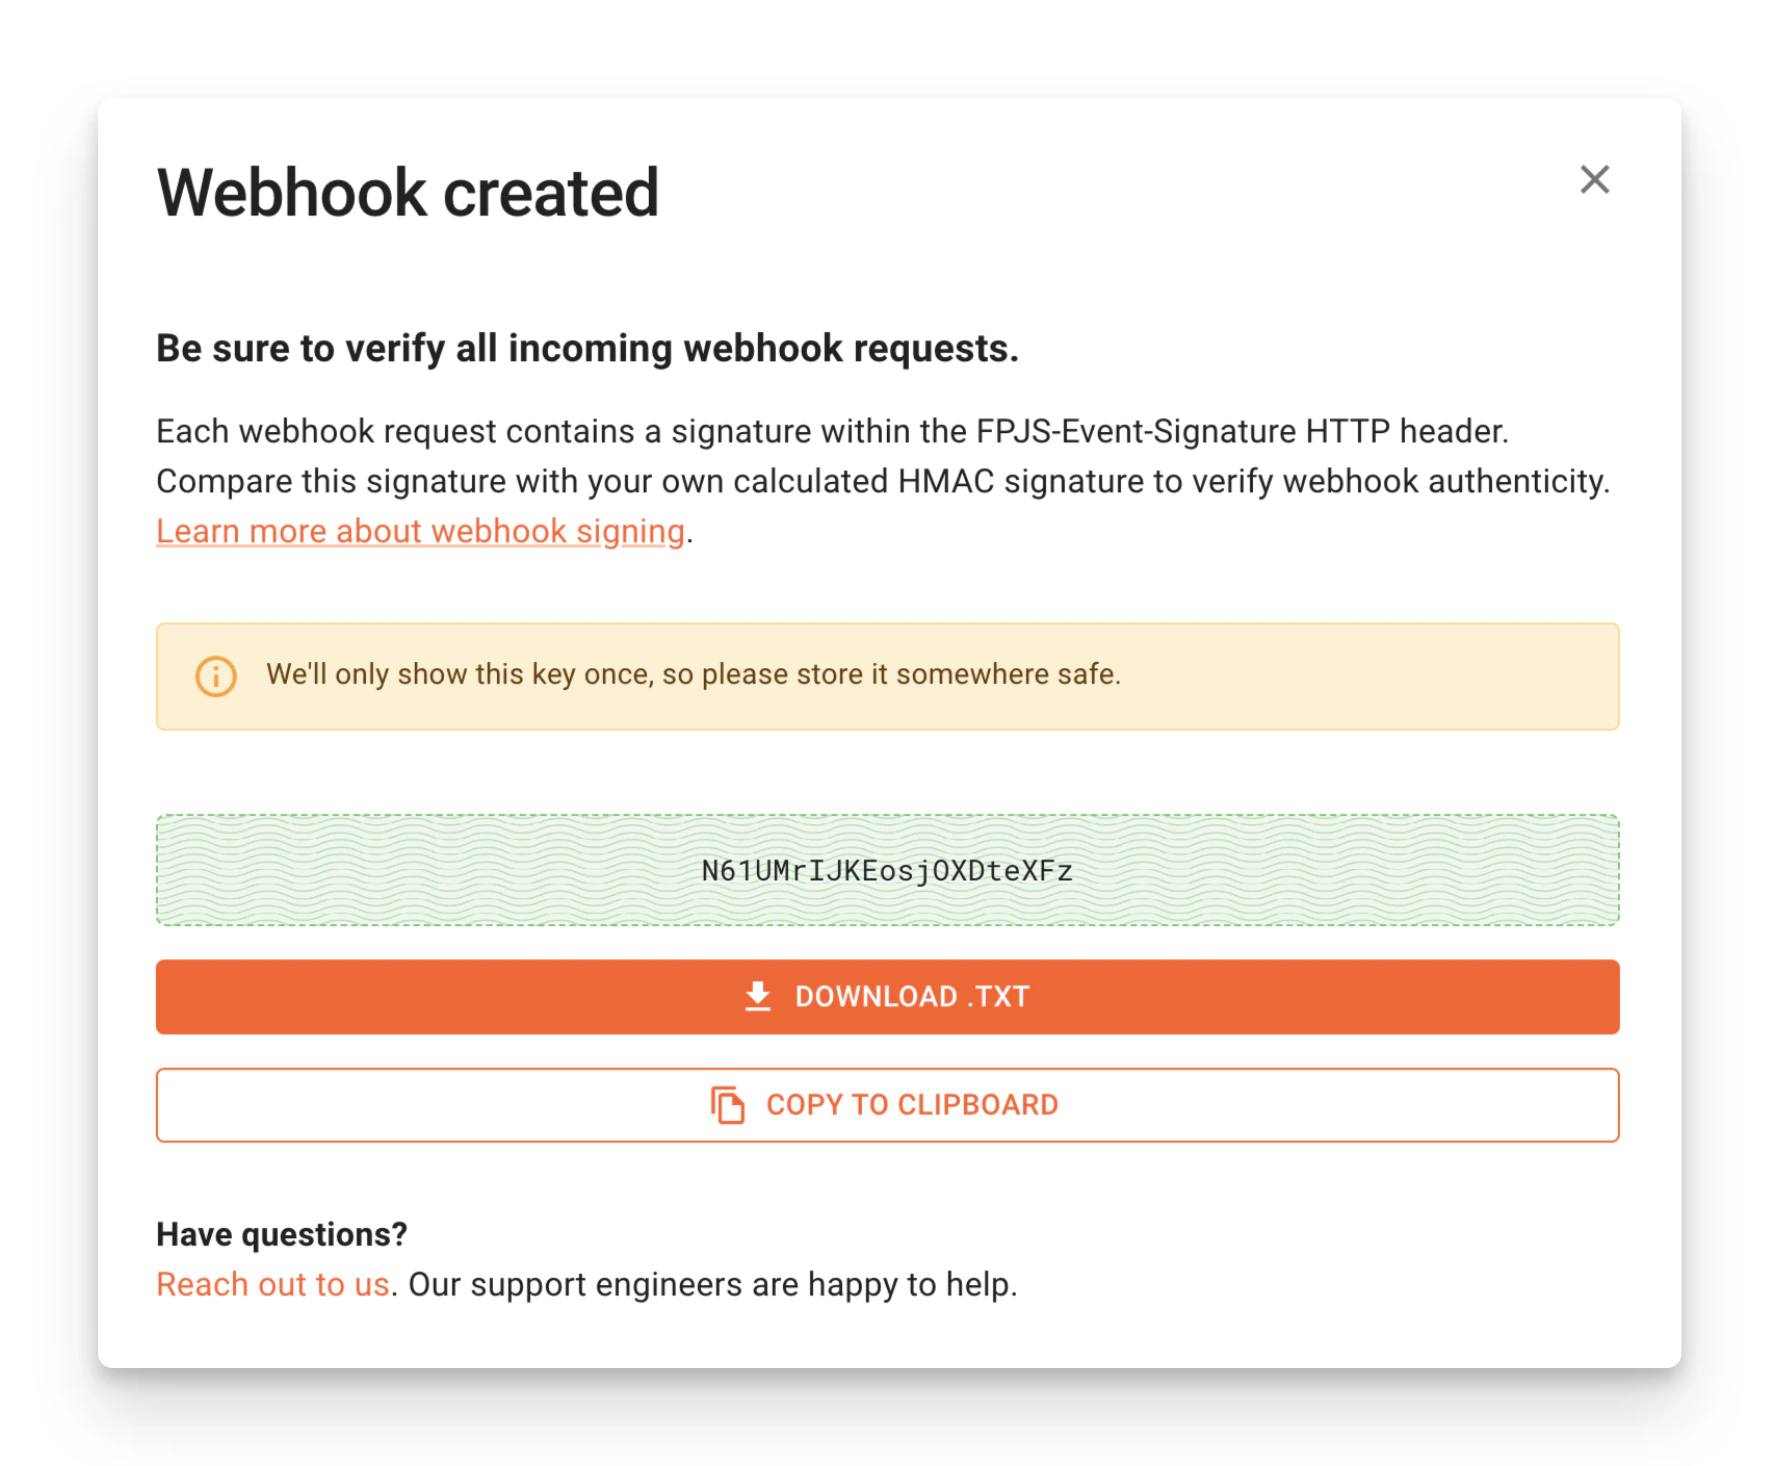
2. Verify Signature
The HMAC signature we assign to theFPJS-Event-Signature header is calculated from the raw HTTP payload of the request. An example validation code might look like this:
Key Rotation
To rotate the webhook key:- Create another Webhook with the same URL and a distinctive name.
- Rotate the key on your backend.
- Once you start ingesting the new signature, delete the old webhook completely to prevent duplicated information.